Friday, February 15, 2013
Friday, February 8, 2013
Bedroom Series Part 1: Pretty in Pastel
We're getting more settled into the house and more rooms are coming together! The first one that is finally completely finished is Ash's room. Most of the decor in her old room was stuff that coordinated with her crib set. We decided to do a whole new decor for her in this house. My sweet Hubbs let me take the reigns on it and boy did I have fun!
I have to say this room was a thorn in my side at first because I could not decide on ANYTHING... from a comforter to paint colors to a theme. But then a friend from church told me she was re-decorating her daughter's bedroom and asked if I wanted some of the things she was getting rid of. This solved my dilemma! I ended up taking some things that became the foundation for the theme of Ash's room and went from there.
Shortly after I found this inspiration photo on Pinterest. I LOVED this room and decided soft colors was the way to go.
![]() |
| houzz.com |
The comforter I did finally decide on was the fairly close in color to the one above and the busy patter meant I could do a lot of other simple decorations around the room.
| Comforter: JCP $99.99 Wall Scroll: Joann's Fabric $14.99 + 20% off coupon = $12.00 |
This is what Ash's room looks like when you first walk in. These curtains are actually the curtains from my old room at my parents house. I'm glad I could breathe new life into them. I know this picture seems a little fuzzy but I had to use an instagram finish because the intial picture was too dark.
| Curtains: FREE ( c/o my rents) |
| Phrases: FREE (c/o my church friend) |
This rug was also a foundation piece for this room. I picked it up at Target long before the house was even close to being done. The pastel colors were perfect for the theme I was going for.
| Rug: Target $7.98 (Originally $24.99) |
The letter below was actually my inspiration for the letters I did for Ash. I used scotch tape for the vertical stripes to ensure a straight and bleed-free finish. I intentionally made my stripes different widths because I found I actually liked that look better. I free handed the polka dots on the letters I did. But if you wanted them nice and perfect, you could always use dot stickers or whole punch some colored paper and mode podge/ glue them on.
| Inspiration photo: rosenberryrooms.com Letters: Michaels: $2.99/ each + 20% off coupon = $2.40/ each Acrylic Paint: $1.99/ each Total: $18.98 |
I found some great pastel colored pots at Ikea that matched the room and the comforter perfectly.
| Flowers: Already had Ceramic Pot: Ikea $1.99 / each Toal: $5.97 |
I love this bookshelf. My dad made it about 5 years ago for J. But it doesn't really match her decor anymore so it has been passed down to Ash. The phrase "LOVE" was actually a little DIY kit. It came with the plain cardboard letters and then you could decorate it how you pleased with the stickers and decals it came with.
| Lamp, flowers and basket: Already had "Love" letters: Wal-Mart $4.00 Vases: Ikea $1.99 Green Petals: Michaels .60 cents (clearance) Blue Shadow Box: Goodwill: $1.99 |
So these next few pictures are just kind of a comprehensive look at how the room came out when all said and done. Surprisingly, I didn't buy a whole heck of a lot for it. A lot of it I either already had, or was given which made me happy because it made decorating that much more inexpensive.
The only other thing I'm thinking about doing is spray painting that black frame another color, maybe a soft yellow. The black doesn't really mesh with the rest of the room. lol.
XOXO
Jacqueline
Thursday, February 7, 2013
Color Me Organized
Button Up
My sweet little grandma gave me tons of buttons a year ago or so. She'd had a lot of these buttons for years and some of them even belonged to her mother. I've had a hard time finding vintage-like buttons so I was happy to take these off her hands.
I wanted to sort them by color and decided this would make for a great "busy" project for my girls. They were actually eager to do it; which I was grateful for because I did not want to sort all those buttons myself.
After all the buttons were sorted, J got the added bonus of painting the tops of the lids to coordinate with what color button was in the bottle. It was win-win. My girls got a fun project and I got organization out of this whole deal.
This idea could be used for any small craft item really, such as stickers, small flowers, jewels, hair clips, etc.
OR
if you're a big into jewelry, you could spray paint and spruce up the spice holder a little more and use it as a way to organize rings, earrings and necklaces by color.
Monday, February 4, 2013
Beauty Budget Steal of the Week
These little white vases below are one of the items I scored at the Michaels Clearance bonanza. (sorry for the poor lighting.) They came in a pack of 4 for the low low price of .39 cents, which equaled out to a little less than 10 cents a bottle. So of course I bought 4 packs and am now in the process of figuring out what to do with 12 of these adorable little bottles.
These bottles are quite petite so I wanted a simple but semi elegant way to display them. I found the orchids at Ikea and they were a perfect size for the bottles. While I liked the clean look of the all white (above), it didn't match our living room. So I spray painted the bottles in colors that matched better and then placed them on a simple white dish.
| Orchids: Ikea $1.99/each White Tray: Ikea $4.99 Bottles: Michaels 10 cents/each Spray Paint: already had. Total: Around $11.30 |
XOXO
Jacqueline
Thursday, January 31, 2013
Beauty Budget Steal of the Week
Clearance Extravaganza
All the stuff you see here in this picture, I got for $6.25.... Total! Michaels is having a great clearance sale. The original price of these things would've added up to more than $35. But with 90% off the foamies, rose petals, vases and and cake decorating accessories and 70% off the jewelry, it came out to be quite a steal.
The cake accessories were the best deal of all. Originally $14.99 and got them for $1.99 :)
XOXO
Jacqueline
Monday, January 28, 2013
Home Decor: Bathroom Series Part 3
Master Bathroom
This is a picture of our master bathroom just after it was finished. I love the dark, mocha cabinets and soon set out looking for decorations to match.
The two pictures, above the towel rack are from the last house. The towels were an inexpensive additon to help complete the look.
| Brown Bath Towels: Wal-mart $1.99 Beige Hand Towels: Wal-mart $.99 Ribbon: Wal-mart $1 Total: $7.00 |
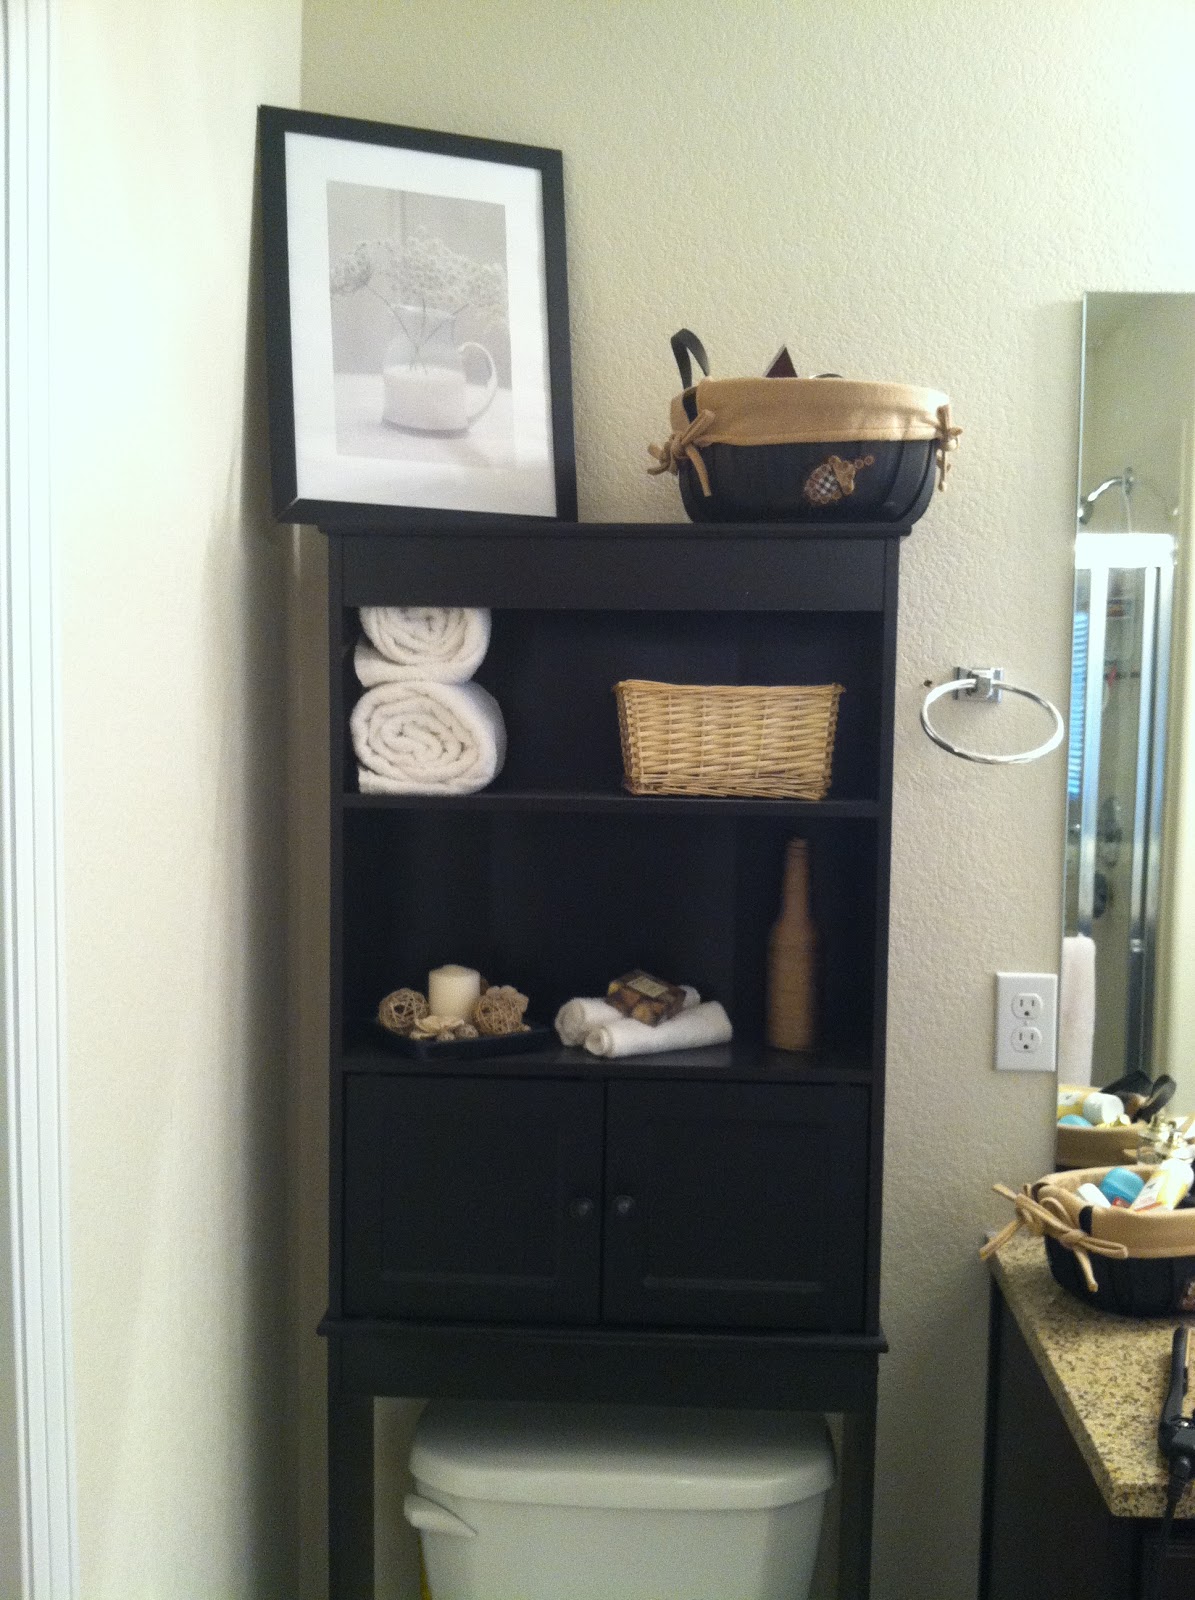
| Picture and Frame: Ikea $6.00 Basket: Joann's $4.00 (clearance) Oraganizational Unit: Wal-Mart $49.99 |
Ok, So the organizational unit was not a great deal. But I shelled out the money since there really wasn't an aesthetically pleasing place to put a medicine cabinet. And this provided a little bit more storage with a decorative feel.
So I changed up this unit a bit to give it a little more of a "spa" feel. I love spa-ish decorations for bathrooms.
I added a couple of white wash cloths and a wrapped bar of soap to the bottom shelf and two rolled white towels to the top rack.
I also added these nice little vases to fill some space on the counter top.
| Vases: Michaels .30 cents each Flowers: Michaels $1.99 for all 4. Total: $3.19 |
I'm thinking about getting a nice tray to put them on. But they look kind of nice the way they are now.
So this wraps up the bathroom series. I'm almost finished decorating the bedrooms so keep an eye out.
Sunday, January 27, 2013
DIY Mod Podge Picture frames
Cheerleading
So J just wrapped up her third season of cheerleading this past fall. I decided it would be a good end of season gift to make each of the girl's picture frames with a team picture in it. Their colors are green, black and white (they were using pink in this picture for breast cancer awareness.)
The only thing I had to buy for this was the wood frames and zebra print tissue. The girl's usual cheer bows have zebra print in them so I wanted to incorporate that. I already had the green tissue paper left over from a giant multi-colored pack I bought a couple years ago.
| Wood Frames: Michaels $1 Zebra print tissue: Michales $1.99 Mod Podge, tissue paper and glitter: Already had Total: $10 for 8 pictures. |
The beauty of Mod Podge is that there is no rhyme or reason. You just slap the paper on any way you please and slather on the mod podge. I sprinkled on the glitter while it was still wet, but once it is dry you'll want to put another coat on to keep the glitter from falling off.
Once they were completely dry, I puff painted each girls name along with the year in white (which I neglected to take a picture of.) But they turned out pretty cute.
You could do an idea like this for any team of any sport as an end of season gift or even a fundraiser.
Happy Mod-Podging
XOXO
Jacqueline
Subscribe to:
Posts (Atom)

